Ad Sense Border

Showing posts with label Mod Podge. Show all posts

Tuesday, February 12, 2013

Monogram Magnets


In my last post I shared with you the Monogram Coasters I gave as gifts for Christmas so today I will share with you the second part of the gift everyone received – Monogrammed Magnets. I found the inspiration for this gift on Pinterest created by Little Miss Momma, but wanted to personalize my magnets which also added a few extra steps. 


For this project you will need:
Scrapbook paper
Mod Podge – I used Matte Finish
Vinyl
Magnet strip (not pictured)
Beacons 3-in-1 glue (not pictured)
Clear glass beads – from Hobby Lobby


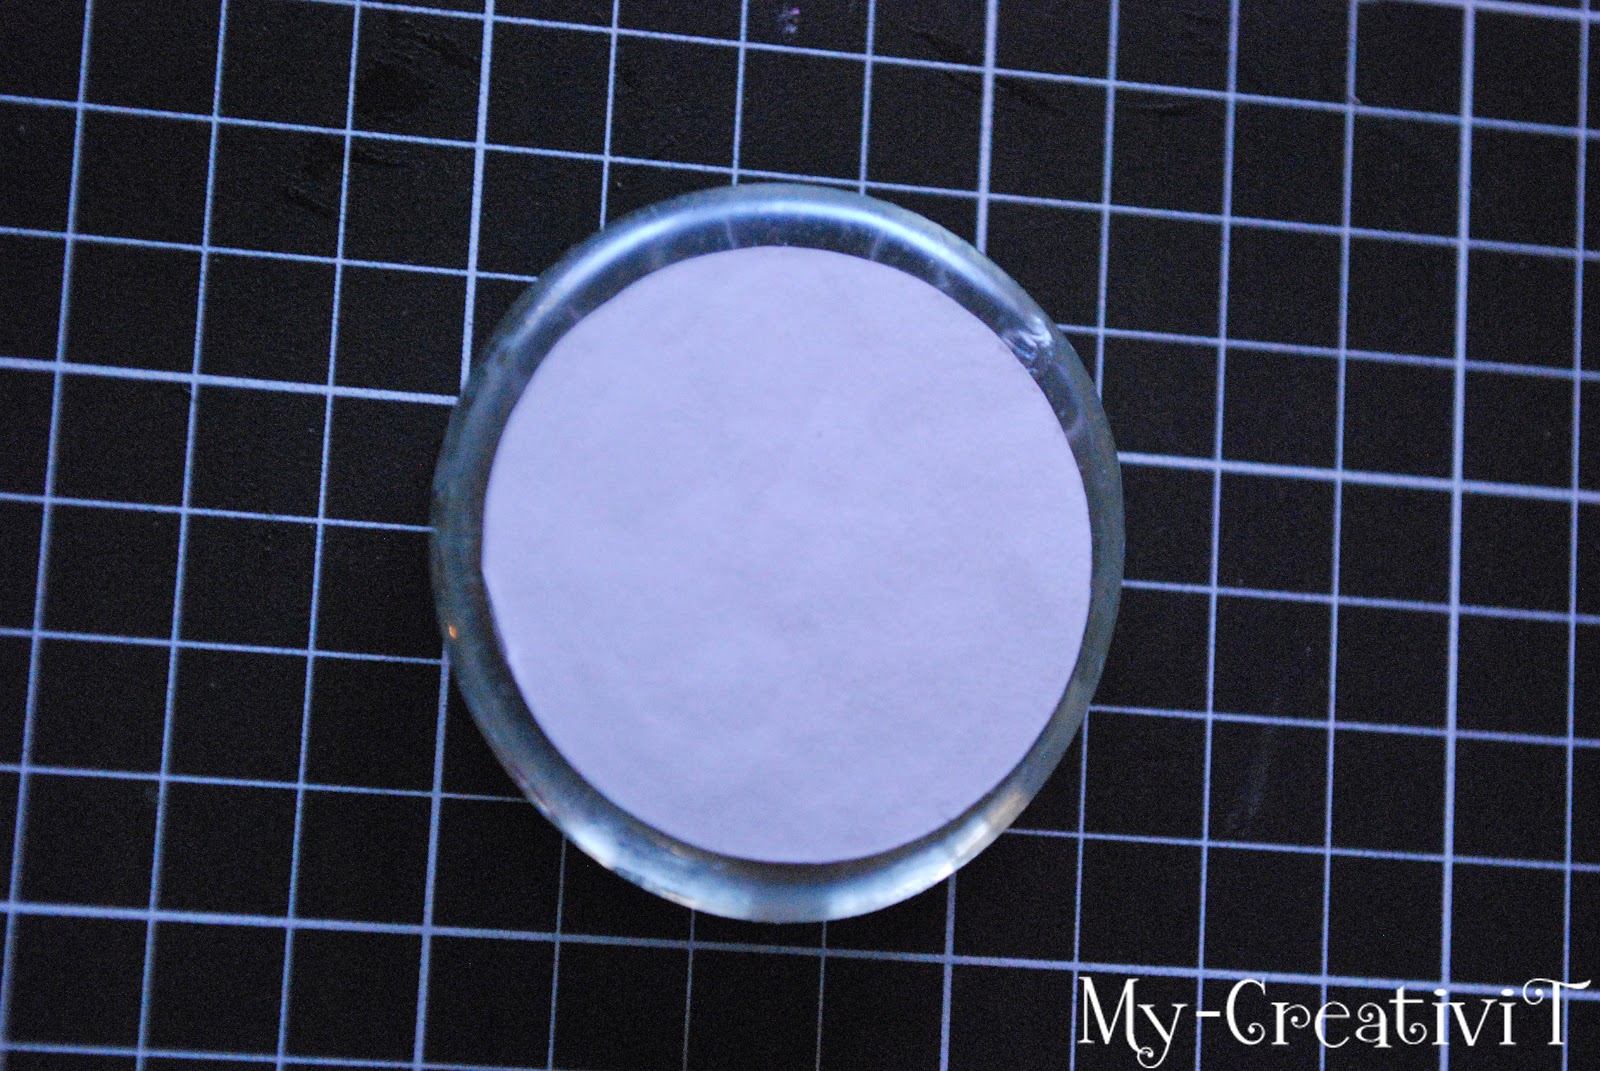
I started by cutting several circles that are a little larger than an inch. Next apply Mod Podge to the bottom of the glass bead and center the paper on the bead making sure to remove any bubbles.     
 
Using my Silhouette I cut vinyl letters that are approximately one inch (or 87.9pt) using the Harrington font.
 
To finish attach a piece of the magnet strip to the back of the glass bead. While the magnet strip will have an adhesive back I recommend using Beacons 3-in-1 glue to ensure the magnet is secure.
 There you have it - a quick and inexpensive personalized gift idea.
 
Tracey

Thursday, February 7, 2013

Monogram Coasters


One of the crafty gifts I gave this year for Christmas was monogrammed coasters. They were fairly inexpensive to make as I purchased a box of 100 white tiles from Home Depot and depending on how many you are making this can be a quick project. Due to the number of sets I was giving as gifts and each set containing four coasters it took me a little longer to finish them.

First I selected the font I wanted to use – which is Goudy Old Style and the font size is 266. I cut several different flourish designs to determine the one I wanted to use and decided to go with Design 13648 Flourish by Hero Arts. Then I put my poor Silhouette to work cutting all of the vinyl pieces for the coasters.

While my Silhouette was fast at work I cut the pads and adhered the felt pads to the bottom of each coaster. I found using adhesive backed black felt was the quickest and cheapest product to use.

Once some of the vinyl was cut I started prepping my designs and adding transfer paper. Then it was time to start adding the designs to the each coaster and finish them off with glossy Mod Podge. This is what my desk looked like while some of the coasters were drying.     
 
 
After I finished all the coasters I tied each set with black ribbon.
With my daughter being an Alabama fan I decided to make a different coaster for her since I found this really cute houndstooth paper. I cut the paper a little smaller than the coaster and used red vinyl for her monogram – she loved them me on the other hand would have preferred them to be a different color. J  
Tracey

Thursday, January 3, 2013

Christmas Centerpiece


As I am still playing catch-up on my posts from the holidays I wanted to share with you the centerpiece I made this year.

First we will start with the “snow” covered cylinders. I started by mixing Epson salt and Martha  Stewart Carrara Marble (white) glitter in a sandwich bag to give it a little more sparkle and then I heavily coated the bottom of the cylinders with Mod Podge. I found that if I rolled the cylinder in the salt/glitter mix it would pick up the course salt and not the glitter using my hand and letting the mix fall into the Mod Podge worked better so I didn’t end up with only the Epson salt.

I found a wonderful idea on Pinterest to create the effect of ice in water. After my Mod Podge was dry I added plastic wrap and a few red berries from a floral pick I cut apart to make it look like the water was actually ice. When doing this you will have to work with the plastic wrap as it all wants to float to the top so I continued to separate it and add more when needed. I also wrapped the berries in the plastic wrap to keep them from floating to the top. The “snow” around the bottom helps to hide that the plastic wrap doesn’t stay on the bottom.

***Warning – do NOT put plastic berries in water for two reasons. 1) the next morning my water had a pink tint and 2) when I decided to remove the berries from the plastic wrap a couple of days later they had a horrible toxic smell so I would either skip this part or use real berries.

To create the centerpiece I used a few pine floral picks and arranged them so you could not see the stems then added the cylinders and a few different size candle holders with tea-lights and added floating candles in the cylinders.


So what do you think?

Tracey

Sunday, August 5, 2012

Sand and Shell Frame


Remembering Our Time Away
I hope everyone is having a great weekend. We are getting a lot of rain so it is the perfect day to be in my craft room. It has been a hectic week in our household this week and our youngest started his Junior year (enjoy your little ones they grow up way too fast).

A couple of weeks ago I shared my relaxing getaway with you and that I had collected some shells while we were strolling the beach. Today I wanted to share one of the project ideas I had for my shells. While it is not a new idea it is one that will help us remember our time away and allowed me to bring a piece of the ocean home with me.

For this project I used a plain wood frame I had purchased from Michaels some time back, Mod Podge, sand, shells, and canvas. If you do not have shells you can purchase these at any craft store.

I wanted to use sand as the base of my frame and had planned to use a wonderful product I purchased a couple of years ago at the CKC convention – it is sand that already has adhesive mixed in so you just have to spread it on – but I had used it for a previous project and it was hard as a rock. In the trash it went and I had to think of another way to use sand. I was able to find a small bag of sand at Hobby Lobby so I put a thick layer of Mod Podge and sprinkled it with sand. This did not give me the coverage I wanted so I cleaned off the loose sand then covered that layer with more Mod Podge and sand. After removing the excess sand I applied a light layer of Mod Podge by dabbing it on the top layer of sand. This allows the sand to stay in place so I do not have sand falling off the frame. Now that I know this technique works I will not purchase any more of the sand with adhesive because in the future I will remember to gather sand from the beach to use when I get home.

Once the top layer of Mod Podge was completely dry I started arranging my shells and then adhered them with 3-in-1 Beacons glue. I then created a tag using canvas fabric, outlined it with a brown marker, and added it to the frame. The edge of the frame was bare wood so I decided to use aqua rick-rack to add a little color that compliments the ocean.

Now I can remember our getaway and the fun I had collecting the shells during our trip.

Tracey
Related Posts Plugin for WordPress, Blogger...